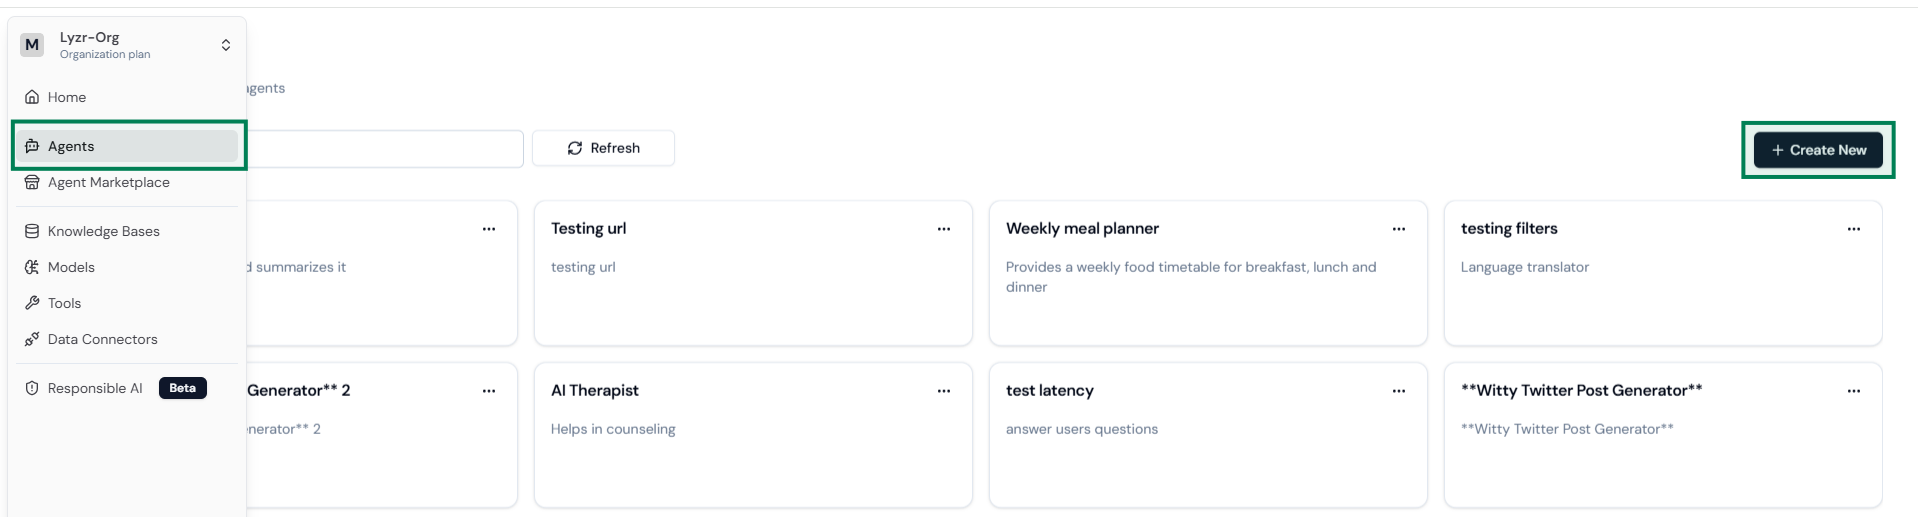
Step 1: Create a new agent - Navigate to Agent Builder from the sidebar menu and select Create New Agent.Documentation Index
Fetch the complete documentation index at: https://docs.lyzr.ai/llms.txt
Use this file to discover all available pages before exploring further.
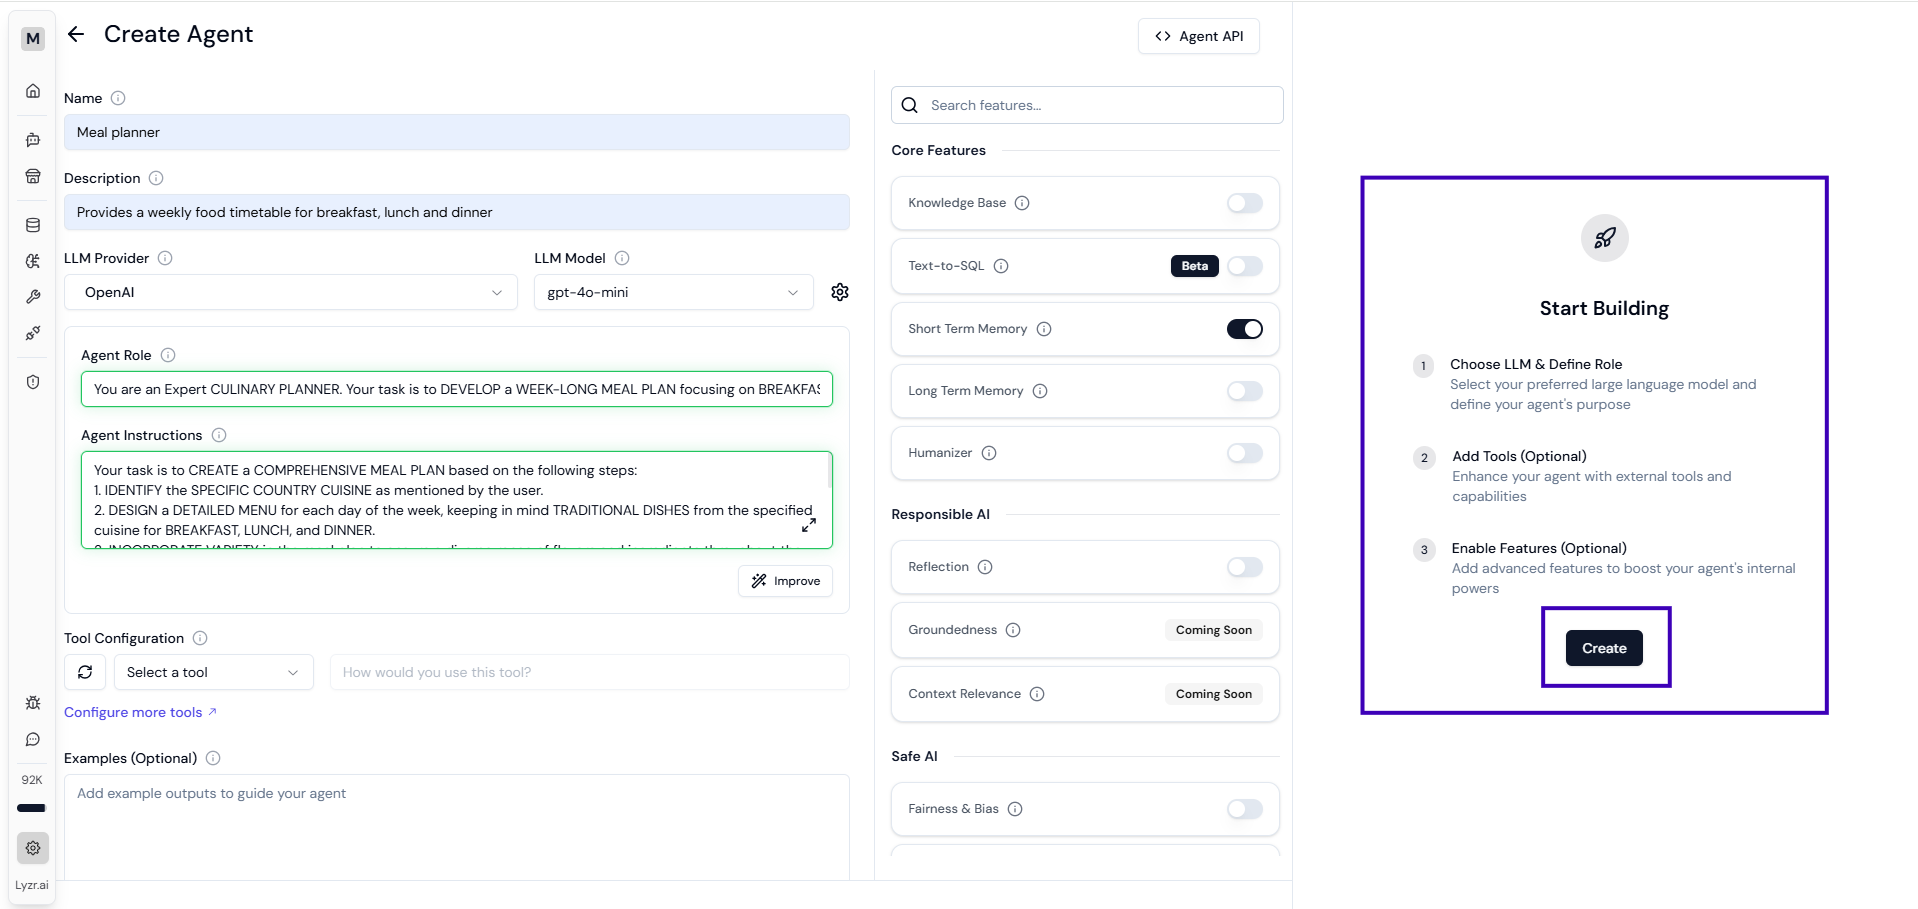
 Step 2: Provide Name & Description - Enter a unique name and provide a detailed description of the agent’s purpose.
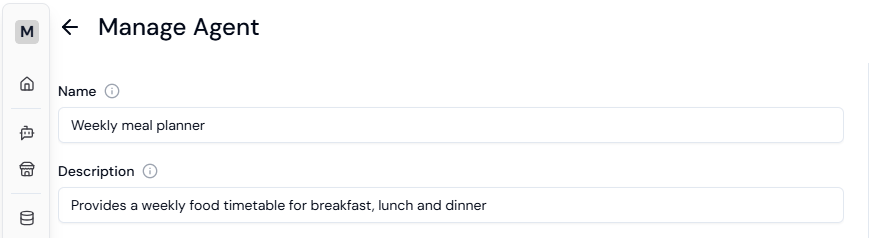 Step 3: Choose the right LLM model - Choose an LLM provider from the list and select a suitable model. You can click on “configure icon” to change temperature and Top P.
 Step 4: Provide Agent role and instructions - Define the Agent Role (e.g., Customer Support, Data Fetcher) and provide agent instructions to guide its behavior (e.g., Instructions: “Craft professional, personalized emails based on user input.”). Use the Improve button to enhance the agent’s role and instructions, ensuring optimal performance with LLMs (Optional but recommended)
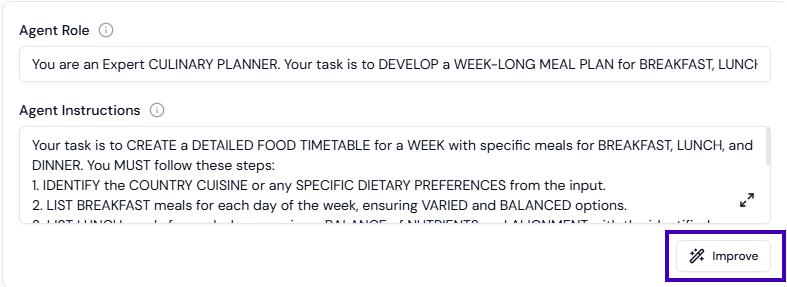 Step 5: Add Tools (Optional) - Tools are functions that extend the agent’s capabilities by allowing it to perform specific actions, like sending an email. Adding tools to your agent makes it more actionable and useful. Quick guide to add Tools
 Step 6: Provide Examples to guide your agent through a template (Optional)
 Step 7: Add Knowledge base to your agent if required (Optional) - Knowledge bases are a comprehensive repository of information made up of several different kinds of content. All of this information allows agents to answer better. Quick guide to add Knowledge base
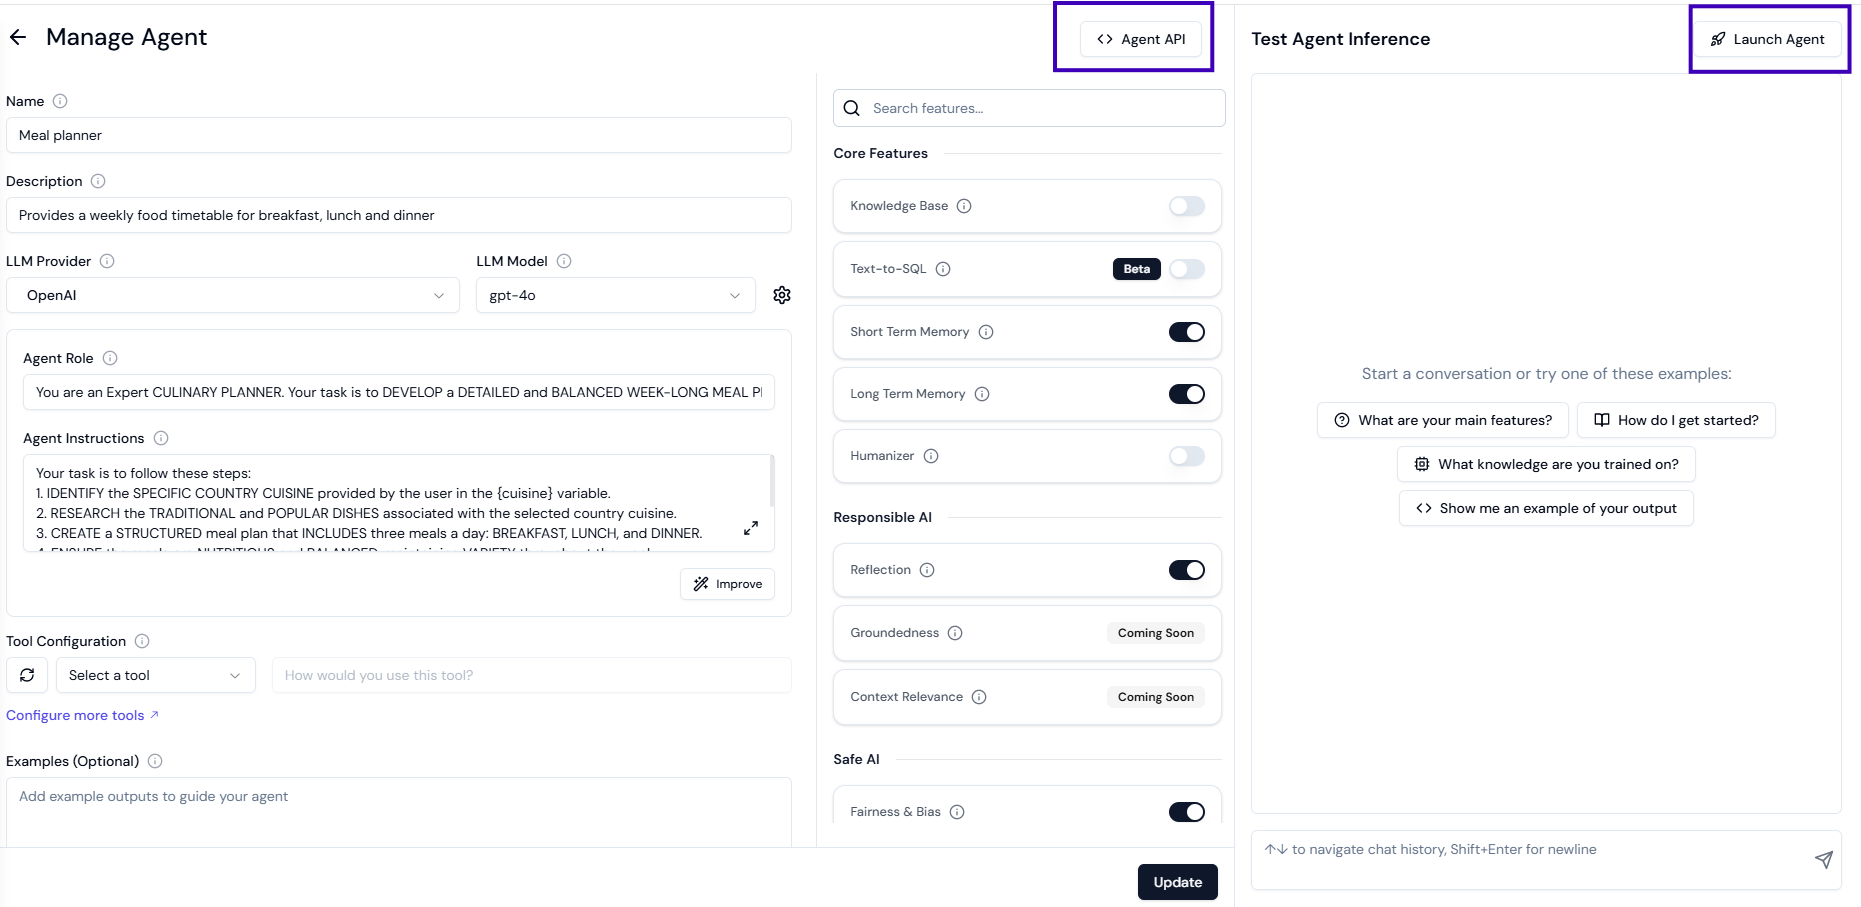
Step 8: Select the right features for your agent. (Optional) - There are plenty of features that are available on Agent Studio, and choosing the right features for your agent leads to better output. Quick guide to choose the right features.
Step 7: Add Knowledge base to your agent if required (Optional) - Knowledge bases are a comprehensive repository of information made up of several different kinds of content. All of this information allows agents to answer better. Quick guide to add Knowledge base
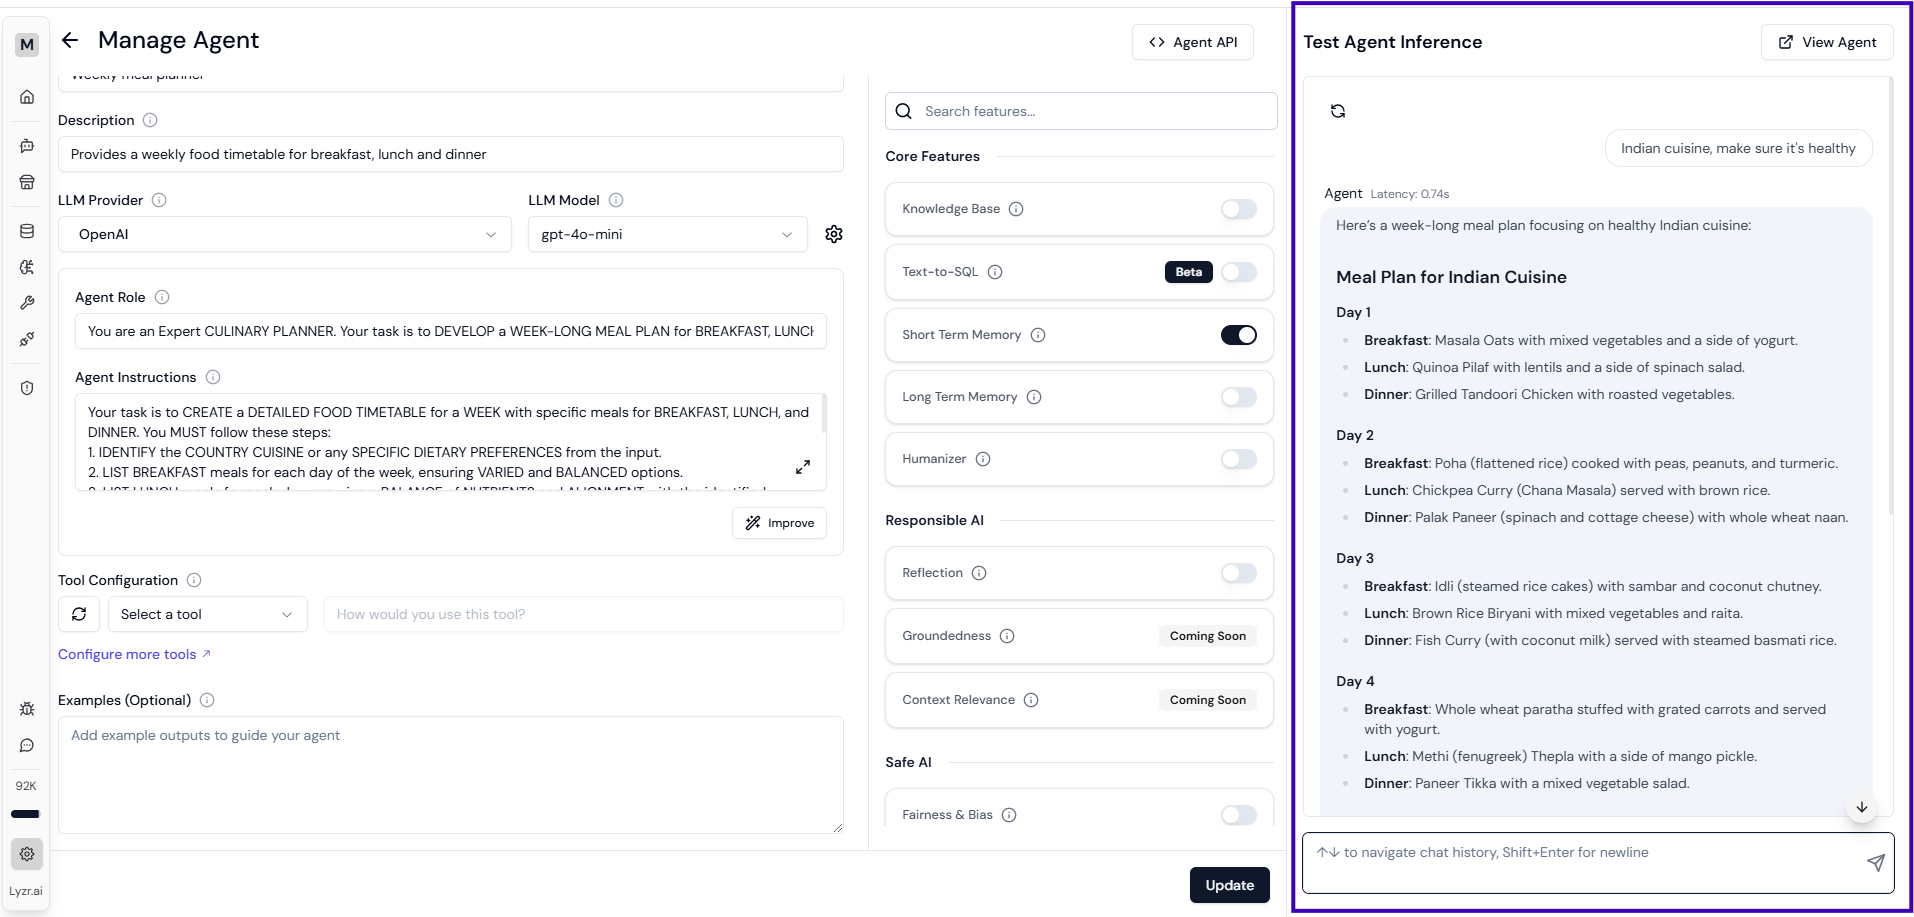
Step 8: Select the right features for your agent. (Optional) - There are plenty of features that are available on Agent Studio, and choosing the right features for your agent leads to better output. Quick guide to choose the right features.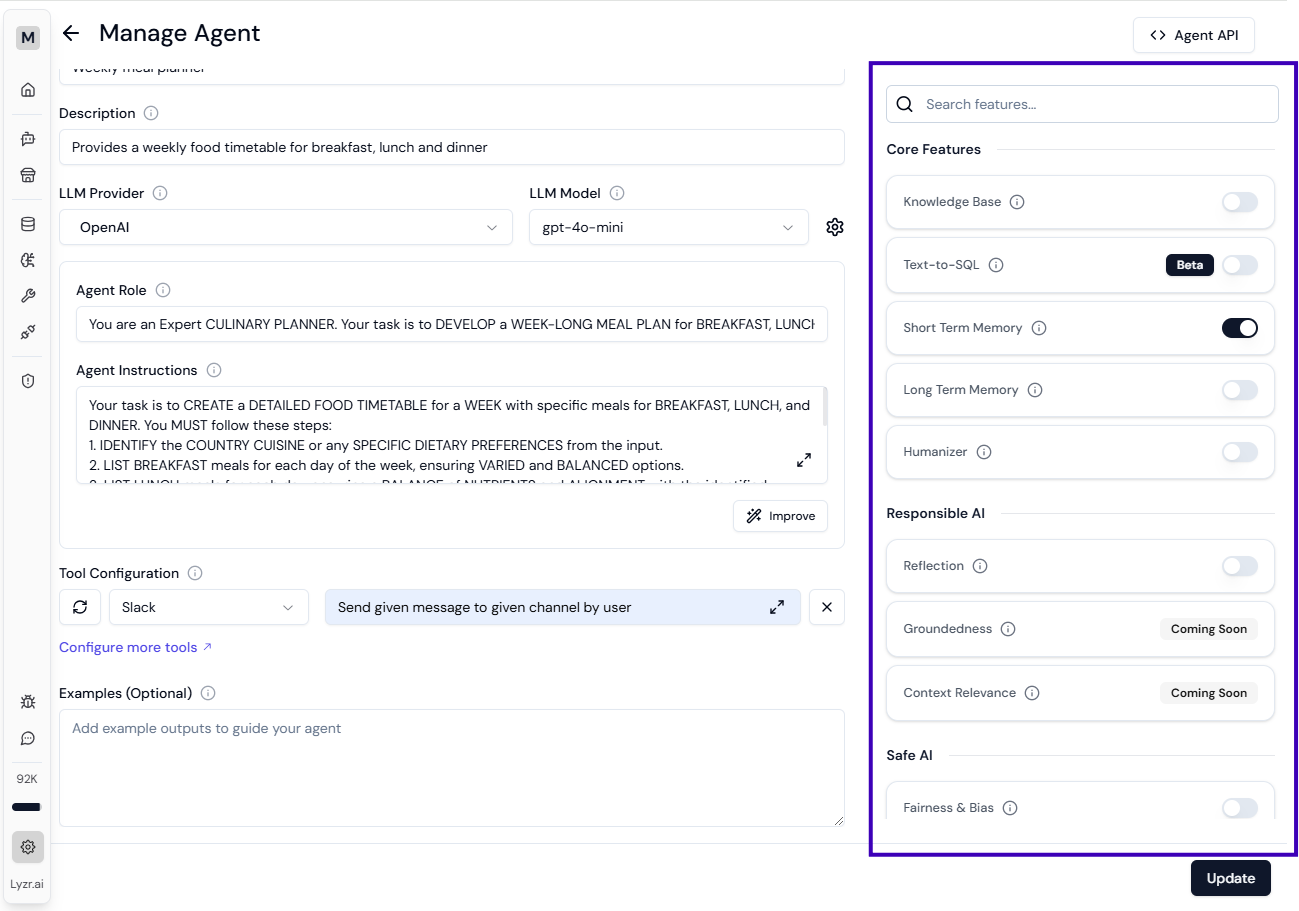 Step 9: Create an agent - Once you have all everything ready, you can click on Create Agent, which saves your agent & allows you to start testing your agent.